I know I said I was going to post this back in Easter... two years ago... and I'm so sorry it's been so long, but hey, better late than never, right?
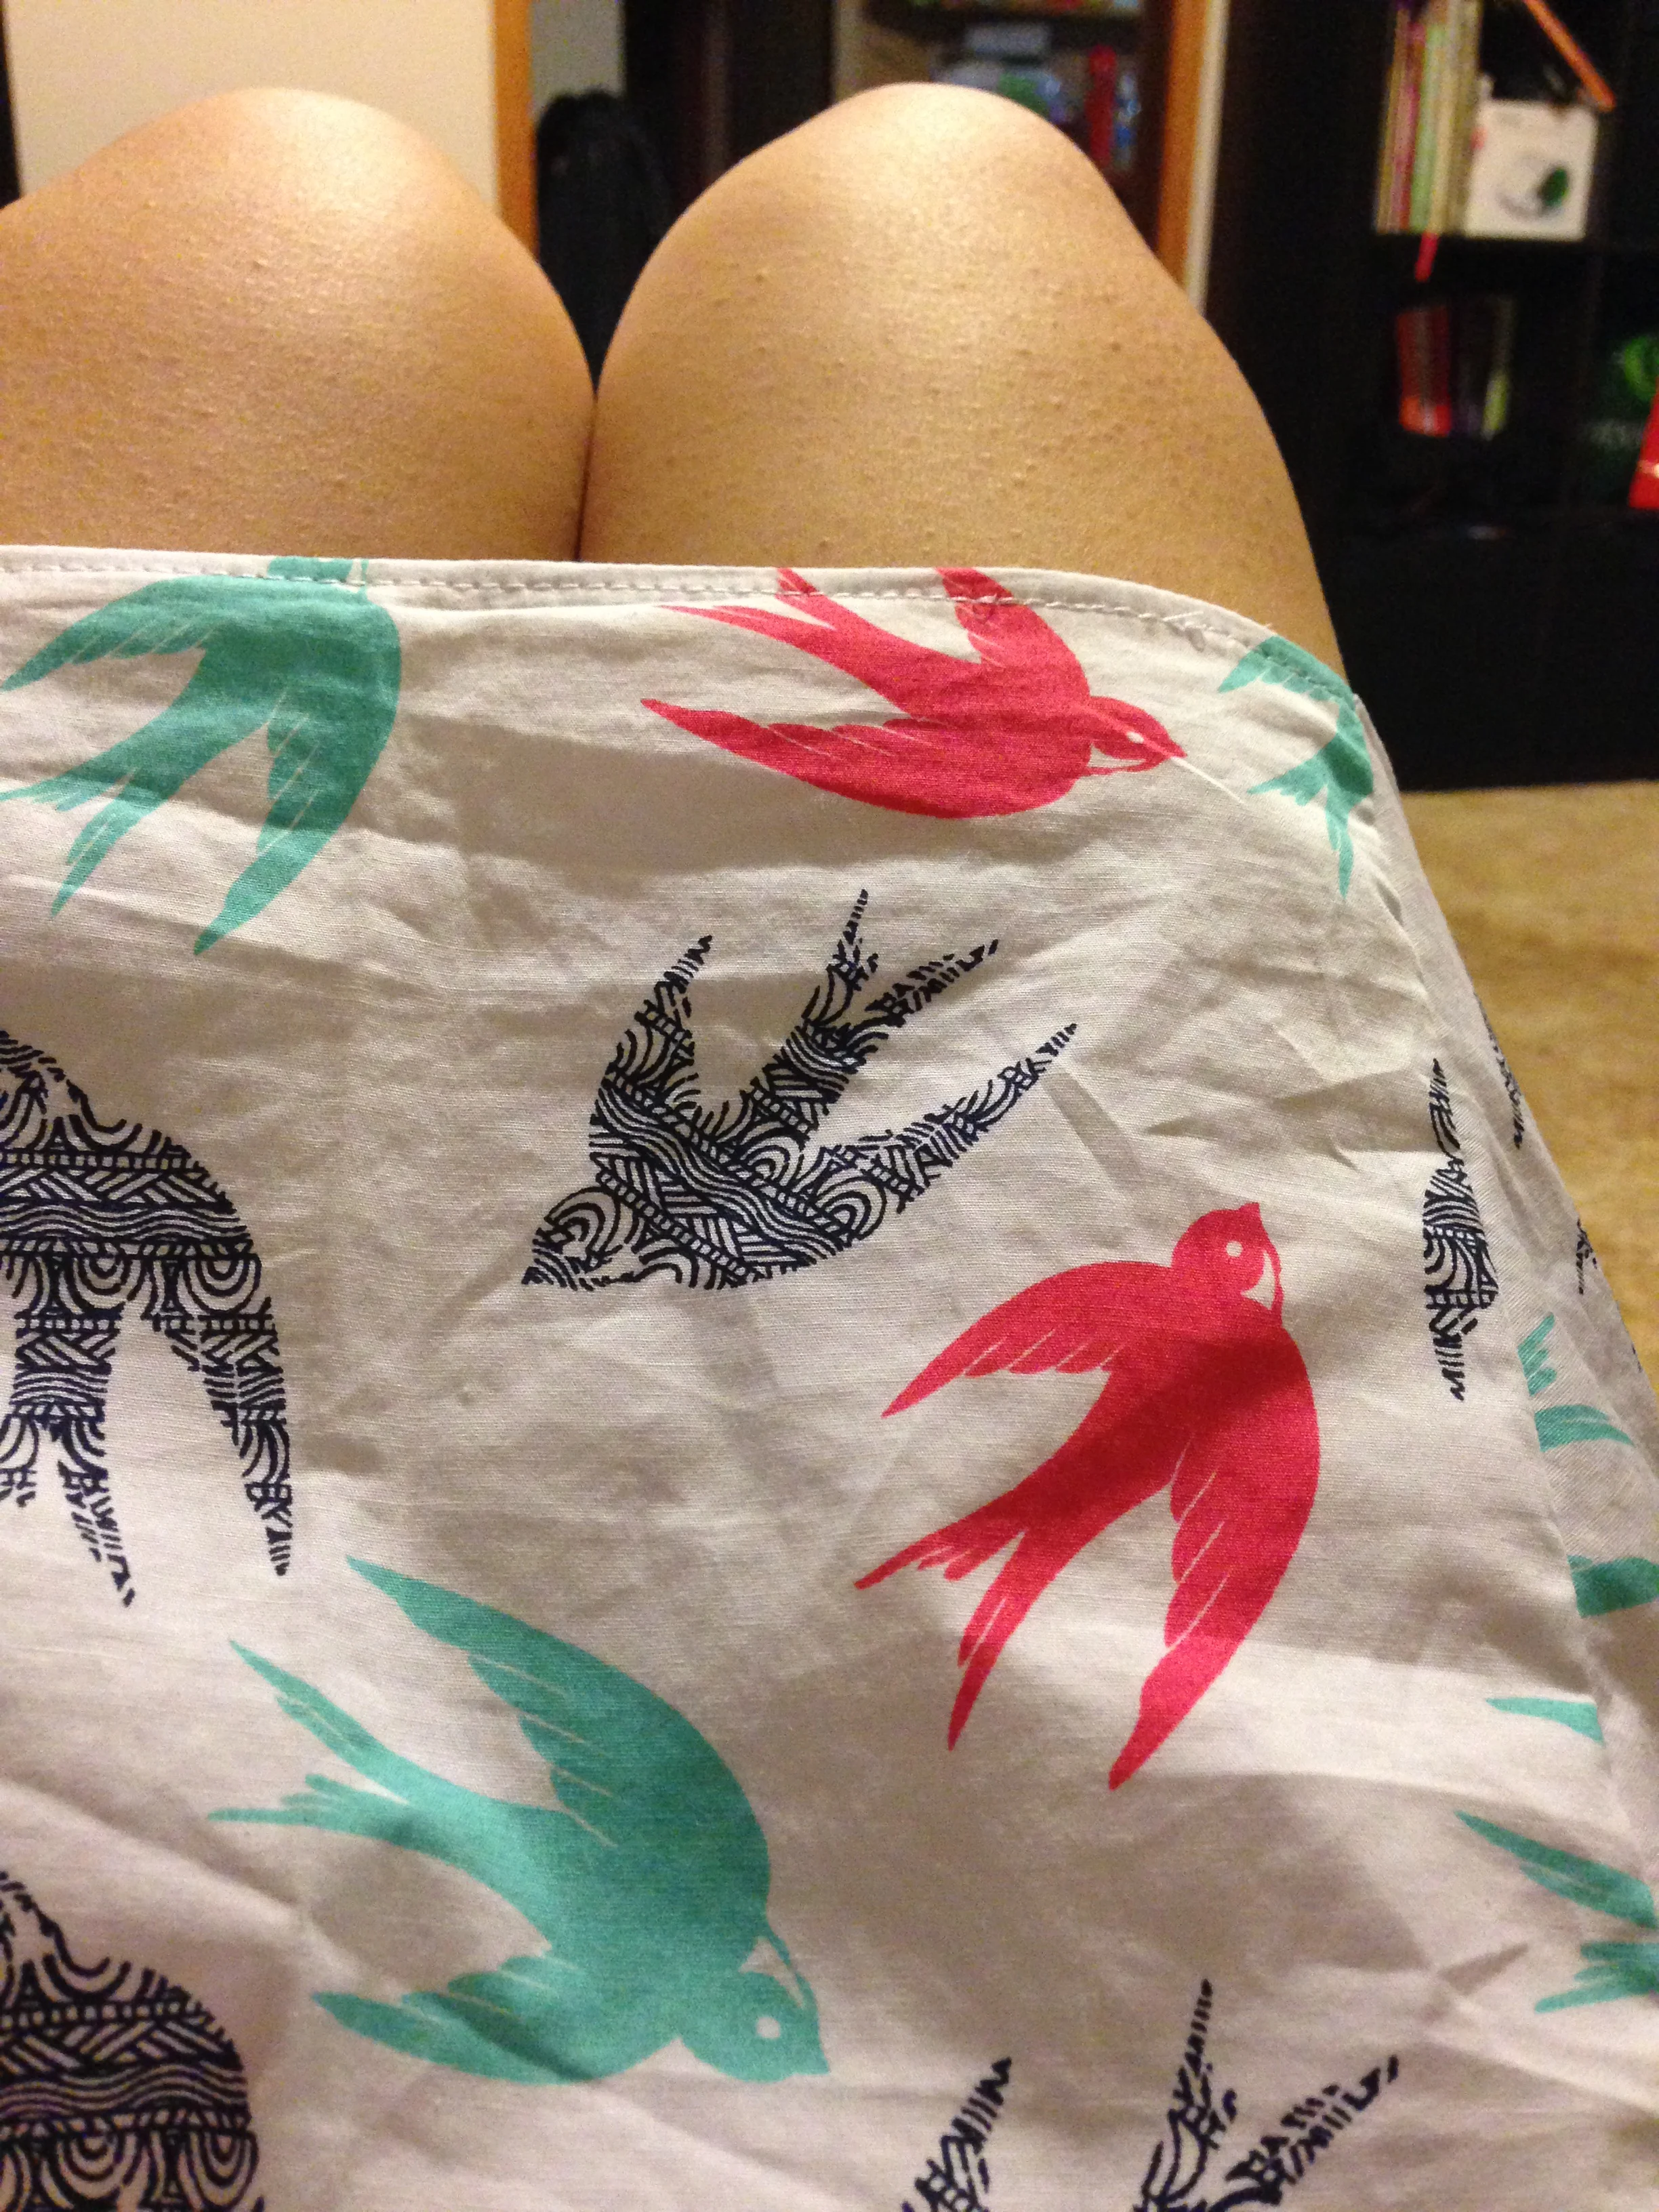
Well, the good news is that I finished my new red polka-dot skirt.
The bad news?
It looks like I borrowed it from Minnie Mouse*.
Oops.
Oh well, it's cute and comfortable, and as long as I don't wear it with a red top, white gloves and a matching bow, hopefully no one will notice...
...although my yellow shoes might give it away!

Anyway, since it seems every girl and her dog has a gathered-skirt tutorial, I figured I might as well use this lovely and simple skirt to create my first proper sewing tutorial! How exciting!
Gathered waist skirt (with pockets) tutorial
Now even though it seems like every craft blogger out there has a tutorial on a gathered skirt, mine has two subtle but handy differences: my skirt has pockets, and those pockets have French seams! I did this because I'm really quite rough with my pockets and tend to overload them, so I wanted some super-sturdy pocket action to make sure that they can handle my abuse.
Without further ado, let me introduce my lovely model Victoria, showing off the discreet in-seam pockets, and let's get started!
You will need:
Wide elastic (I used 12cm wide) x waist measurement
Semi-stiff fabric (I used cotton poplin) x waist measurement x 4
Sewing machine, scissors, matching thread, etc.
Optional:
Strip of lightweight interfacing, 15cm x (4 x waist measurement) - or two strips, each 15cm x (2 x waist measurement)
Gathering foot
Note:
It's worth pointing out that I wanted a very-gathered, fairly high-waisted, long-ish skirt, so I needed to buy enough fabric to cover 4 x my waist measurement. If you want a shorter skirt and your fabric doesn't have a directional pattern, you could probably get away with only buying 2 x your waist measurement worth of fabric. Likewise, if you wanted it to be less full, you can also reduce the waist measurement.
I also wanted a fairly defined hemline, so you could easily get away with less height to the skirt. I've allowed 20cm for my hem allowance, but you could allow less if you wanted a softer line.
Step One: Cutting everything out.
This is a really simple skirt to make. You'll need two rectangles, 4 pocket pieces and the elastic for your waist. That's it! (Although in retrospect, I do wish I'd used interfacing for my hem, and will be including it in my instructions.)
Starting with the two rectangles, measure your waist. Multiply that by 2. This is the width of your rectangles.
Next, measure from your natural waist (or wherever you want it to sit along your waistline) to the length you want it to be. I made mine to sit just above my knees. Add 20cm to that measurement. This is the length of your rectangles.
Now that you have the dimensions of your rectangles, cut them out of your fabric, using the selvedge of your fabric along the width of the rectangles. We're doing this so that later, when we attach the skirt to the elastic waistband, there won't be any added bulk from finishing the seam. This edge will be rubbing against your waist, so it will get a lot of wear and tear, therefore a simple zig-zag won't cut it; you'll need a rolled or double-folded finish, and really, you don't want that kind of bulk around your middle. Instead, just use the selvedge and it's easy-peasy. (If you've got a serger/overlocker, you can probably use that to finish the edge, but if the selvedge is already there, why not use it?)
I didn't take a photo at this step, so I've drawn a layout diagram instead:
Of course, if you're happy with a shorter skirt, you could try this next layout instead, to use less fabric. The pockets can really be oriented whichever way fits your fabric piece best, as long as the right angles line up with the grain of the fabric (i.e. not on the bias).
Technically, the pocket backs and fronts are exactly the same pattern piece, but flipped so you've got the correct sides of the fabric on them.
The pockets in my diagrams are a little bigger than they were in real life. I used a pocket piece I had from a commercial pattern, but there are some free pocket patterns out there. I've used See Kate Sew's Big Pocket pattern in the past. Quick tip: even though it looks enormous, don't shrink it down. It is the correct size for an adult pocket. Any smaller and your phone falls out. Ask me how I know.
Anyway, moving on!
If you're using interfacing, cut it out now so you don't have to later. It will be two rectangles, 15cm high by [your waist measurement x 2] long.
Step 2: Attach the pockets
Now that you've cut out your pieces, you'll need to attach the pockets. Make sure you match up the fronts to the backs. You'll actually find that in one pair, my labels above are correct, but in the other pair, they're backwards, so that you've got one left-facing pocket and one right-facing pocket.
Click the image to see full-size
Next, figure out how far from the top edge of the skirt you want the pockets to sit. Minus the waistband height, then measure that far down from the top edge and pin/attach the pockets to the main skirt fabric (e.g. if you want the pockets to start 10cm from the top of the skirt and your waistband is 4cm high, line up the top edge of the pocket 6cm down from the top edge. Make sure you're pinning so the pockets are right-side-together.
Then sew the pockets in, maintaining your seam allowance. Once you've attached all four pocket pieces, you should end up with two sets of something like the diagram above. Flip the pocket pieces out so that you've got two big pattern pieces of right-side up and press the seams.
Step 3: Attaching the interfacing
If you're using interfacing, now's the time to do it.
Iron-on interfacing (recommended)
If you've got iron-on interfacing, lay it sticky-side-down on the wrong side of each skirt piece, 15cm + seam allowance away from the bottom edge of the skirt.

If you're using iron-on interfacing, place it on the wrong side of the fabric, 15cm + seam allowance away from the bottom edge of the skirt, then iron into place.
Non-iron-on interfacing
If you don't have iron-on interfacing, baste the interfacing in place along the bottom edge on the wrong side of the fabric, leaving the seam allowance clear. You'll fold this over later to hide the interfacing.
Step 4: Frenching the side seams
Lay your pattern pieces wrong sides together and sew down those side seams, using as small a seam allowance as you're comfortable with. This seam is the seam that will encase the raw edge, so it doesn't need to withstand a lot of tension, and therefore can be a lot thinner than you'd normally use.
Note: Some people prefer to sew their normal seam allowance and then trim it back, but that seems like a waste of time, effort and fabric, so I usually just sew a thinner seam allowance. If anyone can tell me why this wouldn't be a good idea, I'd love to know, but until then, I'm going to keep on doing it my way.
Once you've done both sides and have a wide tube, make sure you've caught the interfacing in the seam, then flip your tube inside out so that your right sides are together. Poke the corners of the pockets out as much as you can, then press the seams. You might need to clip some of the corners to achieve this, especially around those right angles (to allow the fabric to flip out) and strategic points around the pocket (where the curve is greatest, to minimise bulk).
The finished french seam around the pocket edge.
Maintaining nice sharp right angles at the edges of the pockets where they join the skirt will give you a better result when you flip the skirt right side out.
After you've pressed the seams, you can sew those sides up again, making sure that your seam allowance is larger than the one you sewed the first time, e.g. on my skirt I used a 5mm seam allowance for the first seam and then 10mm seam allowance for the second seam, meaning that my new seams are 15mm in from the original raw edge. Don't forget to keep those right angles nice and sharp!
Once you're done, check the seams along the right side of the skirt to make sure you've encased all the raw edges and trim any stray threads that might be hanging out - but don't flip it right-side out yet.
Next we're going to hem the bottom edge.
Step 5: Hemming the skirt bottom
Fold the raw edge up (the width of your seam allowance, towards the wrong side of the skirt) and press to get a nice sharp edge. The side seams should be pushed to the front of the skirt, as that will encourage the pockets to stay pointing forward. If you basted your interfacing in instead of ironing, you want the edge of the interfacing to be pushing hard up against that inside fold. If you're using very lightweight fabric, you might want to baste the fold in place, but otherwise a good press should hold it for now.
Fold the bottom up 15cm so that the interfacing is just hidden by the first fold we made. For both iron-on and not, we want the interfacing to be pushing hard up against this second fold. Press this fold, then topstitch it down. I like to use a 10mm seam allowance along the bottom edge, and a 5mm allowance from the edge of the inside fold.
Step 6: Gathering the top edge of the skirt
Now, depending on how stretchy your waistband elastic is, you might want to gather the top edge a little before attaching the waistband. This is one of the few times that I won't suggest you use a ruffle foot, but instead use the basting method. Rather than try and explain it myself, I'm going to let Dana from Make It & Love It show you, because her tutorial is awesome and incredibly thorough. Follow her instructions for attaching a ruffle to a tube, but stop before you actually attach the tube, then come back here for the final step, because this is an elasticised tube, so it's slightly different.
Step 7: Attaching the skirt to the waistband
Following Dana's instructions, you should now have your two rows of basting stitches and pins dividing your skirt into quarters.
Time to turn your waistband elastic into a tube!
Use a straight stitch to sew the two ends together (right sides together), then use a tricot stitch to sew the ends flat to the waistband.
Mark the quarter points of the waistband with clips (I suggest using clips instead of pins, to minimise damage to the elastic - bulldog clips are great, but dedicated fabric clips will do too) and line it up with the pins from the skirt body. Remove pins and clip together, right side of the skirt facing the wrong side of the waistband.
This is where it's different from Dana's instructions. Gather your basting stitches in until the skirt measures your widest hip/waist/bum point. This is where the skirt will have its maximum stretch, so if you've got large hips and a small waist, measure carefully - you want to make sure you can still get it on over your hips!
With your gathers in place, take the skirt to your sewing machine and use a tricot stitch to attach the gathered edge to the elastic, making sure to stretch the elastic out as you go. I hold my fabric next to my clips and stretch that out to the required amount, moving section-by-section to ensure that it's evenly stretched all the way around.
If you're nervous about htis step, you can always baste it in place first, test it for fit, then go back over it with a tricot stitch when you're confident of the evenness of your gathers.
Remove your basting stitches... and you're done!
Give it a quick press and then wear it with pride.
* image courtesy of WikiMedia.